What are the benefits of hillshade?
Have you ever looked at a map and wondered how it could be made to look more realistic? That's where hillshade comes in. Hillshade is an incredible tool that can transform a flat, lifeless map into a three-dimensional work of art. Whether you're creating maps for fun or for professional use, understanding the benefits of hillshade can help take your cartography skills to new heights. In this blog post, we'll explore what hillshade is, its advantages, and how to create it. So buckle up and get ready to add some depth and dimensionality to your maps!
What is hillshade?
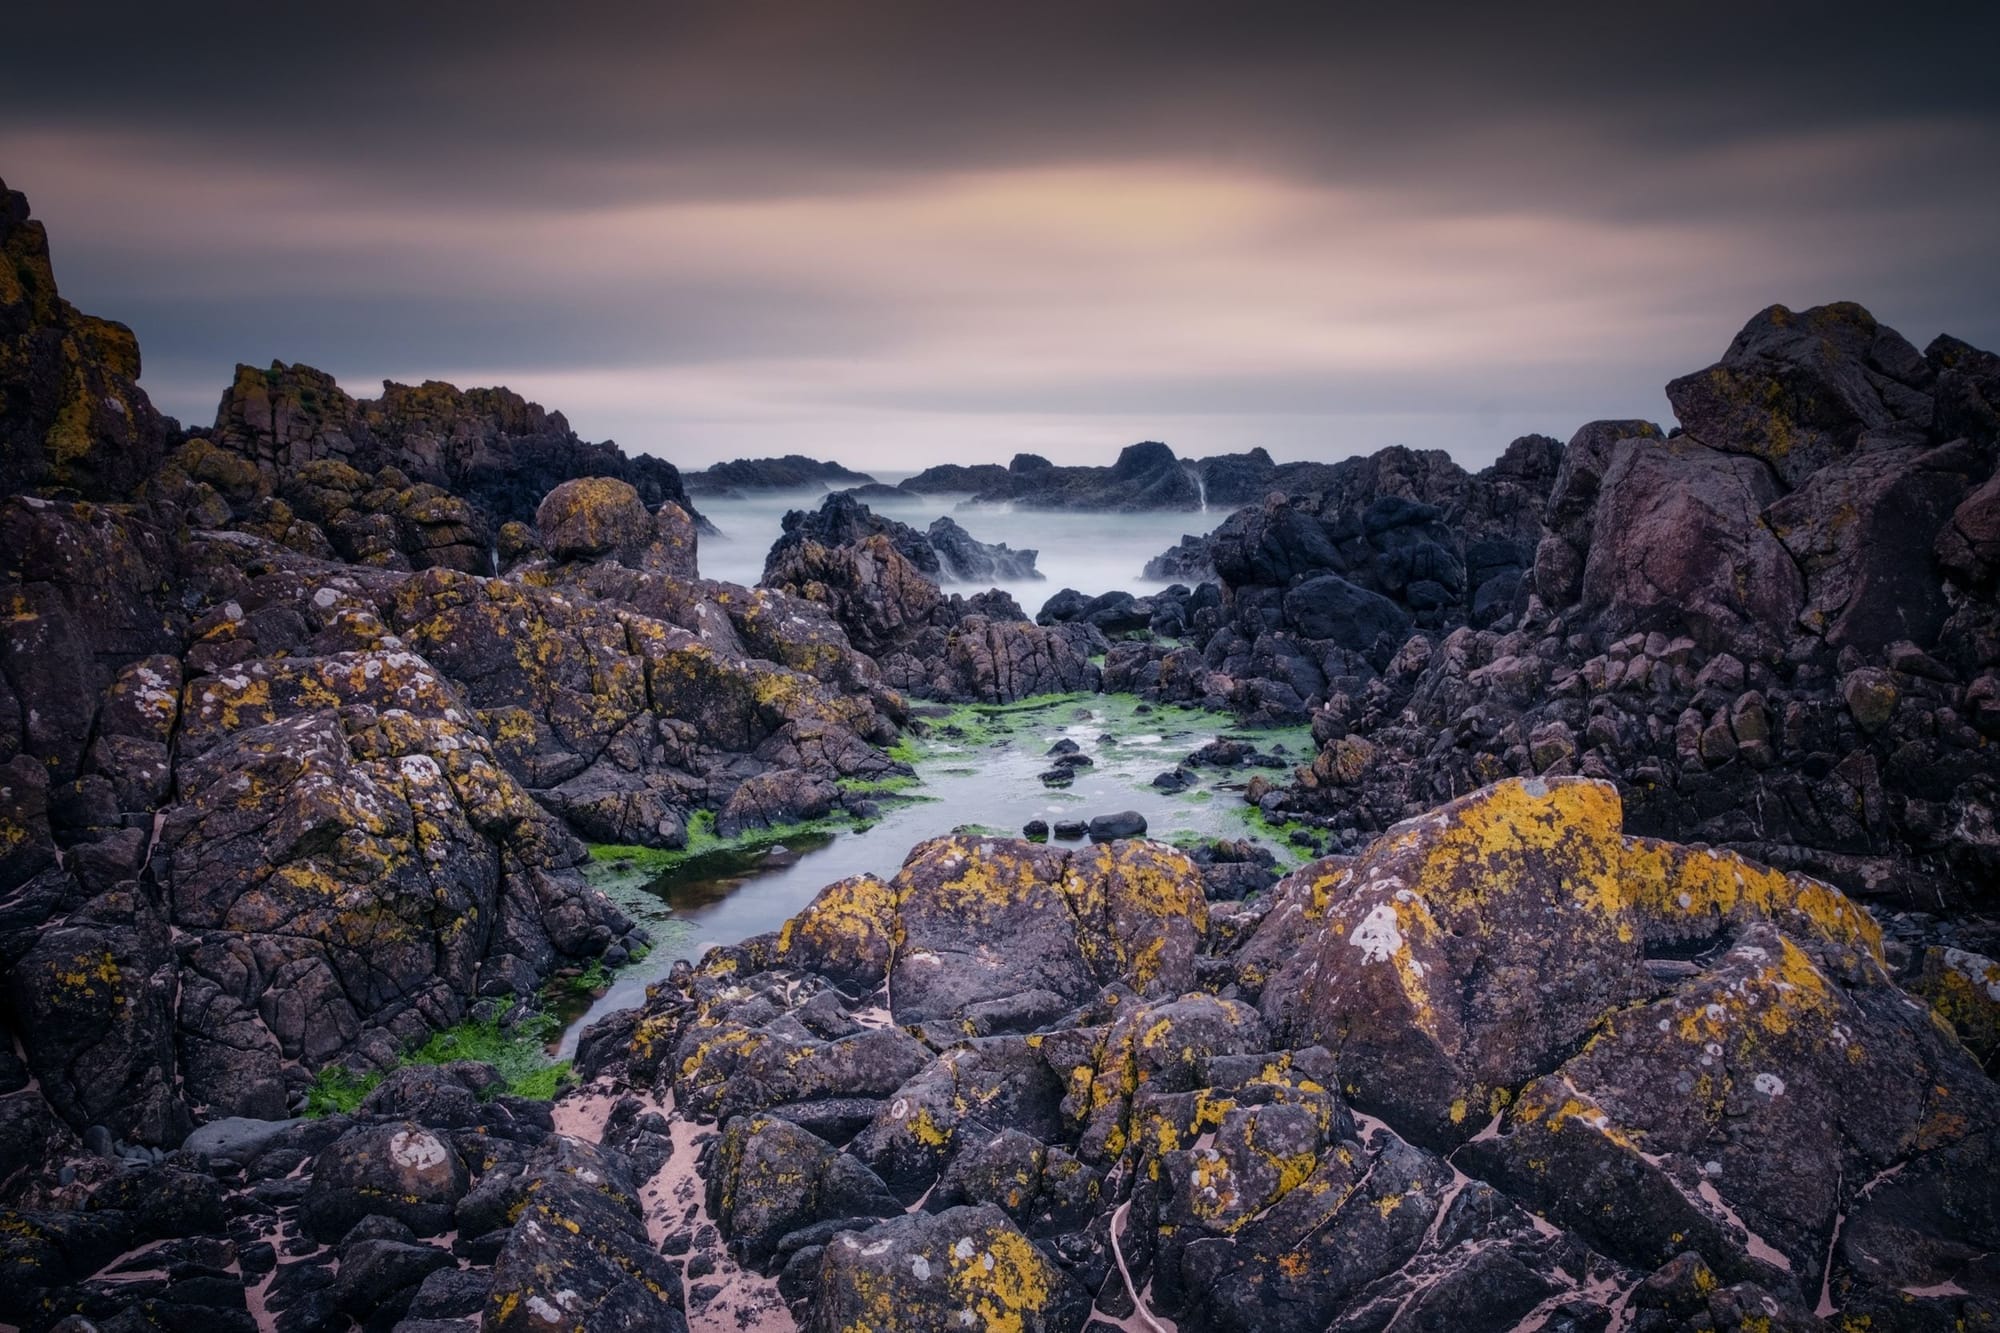
Hillshade is a powerful tool that can bring depth and detail to otherwise flat maps. It's a shading technique that creates the illusion of hills, valleys, and other natural features by simulating light conditions on a map.
Hillshade works by taking elevation data from a digital terrain model (DTM) or digital elevation model (DEM), which defines the height of different points on the Earth's surface. The software then calculates how light would fall on these points based on their position relative to an imaginary light source.
This creates shadows where there are slopes or ridges, and highlights where there are peaks or plateaus.
The result is a stunningly realistic representation of the landscape that makes it easier for people to understand and navigate geographical information. Hillshade can be used in many applications such as planning routes for hiking trails, visualizing changes in land use over time, or even creating 3D models for video games.
Creating hillshade requires specialized software like ArcGIS or QGIS along with high-quality DTM/DEM datasets. However, once you have mastered this technique, you'll be able to create breathtaking maps that stand out from the crowd! You can also use Hillshade in Lapak GIS for Enhancing Terrain Maps
The benefits of hillshade
Hillshade is a powerful tool for visualizing terrain data that provides numerous benefits. One of the most significant advantages is its ability to enhance the perception of 3D terrain features, which can help with navigation and spatial analysis.
By creating shadows on slopes and valleys, hillshade allows us to see subtle changes in elevation that might be difficult to distinguish from a flat map. This makes it an invaluable tool for hikers, geologists, and cartographers who need accurate topographic information.
Furthermore, hillshade can also reveal patterns in the landscape that may not be immediately apparent from traditional maps. For example, it can highlight areas of erosion or deposition by showing variations in slope angle and aspect.
Another advantage of hillshade is its aesthetic appeal. By adding shading and texture to a map, it can make it more engaging and visually appealing. This has applications in art as well as scientific visualization.
Creating hillshades is relatively easy using GIS software such as QGIS or ArcMap. Users simply need access to digital elevation models (DEMs) along with some basic knowledge of image processing techniques.
The benefits of hillshade are many-fold: improved spatial analysis capabilities; enhanced understanding of 3D terrain features; increased aesthetic appeal; better identification of erosion/deposition patterns - all this without compromising accuracy!
How to create hillshade
Creating hillshade maps is an essential aspect of mapping and analysis. Here are the simple steps to create a hillshade map.
First, you need to get your data in place. You can use digital elevation models (DEMs) for creating hillshades or any other raster dataset that has some topographical information.
Next, open ArcMap and add your DEM file as a layer. Then navigate to the "Spatial Analyst" toolbar and select "Surface Analysis" -> "Hillshade". This will bring up the Hillshade dialog box where you can set the desired parameters for your map.
In this dialog box, you can adjust settings such as azimuth angle, altitude angle, and Z factor according to your needs. Once all settings are adjusted appropriately hit ok and wait for ArcGIS Pro software to process it.
Once processing is completed successfully go ahead save or export it as required formats like PDFs or images files.
These easy-to-follow steps ensure that producing hillshades becomes seamless so that users can apply them across different projects with ease!
Conclusion
Hillshade is a powerful tool that provides numerous benefits to cartographers, geologists, hikers and many other professionals. Hillshade can enhance the visual appeal of maps by adding depth and dimension to flat images. It can also help individuals plan their trips, navigate through unfamiliar terrain or perform geological analyses in a more efficient manner.
Creating hillshade may seem daunting at first but it’s relatively easy with today's advanced software tools available online. Users need only upload elevation data or topographical maps into specialized programs such as ArcGIS or QGIS for automatic generation of shaded relief images.
The use of hillshade has become increasingly popular especially among those who are interested in outdoor activities like hiking, trekking and camping. However, its applications are not limited to these activities alone as it has proven useful in various fields including urban planning and environmental conservation efforts.
Incorporating hillshade into your work will not only make your projects look professional but also increase their accuracy and effectiveness. So why not take advantage of this highly beneficial tool today?Example Text